How to add a file resource to a Moodle course
One of the most common tasks when teaching in Moodle is sharing material with your learners: a PDF, a presentation, or a document. In this guide you will upload a file to a course using the File resource, all from the Moodle interface installed on your shared hosting (for example, under a subfolder such as https://yourdomain.com/moodle/).
Before you start
- Sign in to your Moodle with a teacher or administrator account.
- Have ready the course where you will publish the material.
- Have the file on your computer (for example, a
.pdf,.docx, or.pptx).
Steps
Turn on edit mode
- Open the Course where you want to add the file.
- Turn on Edit mode with the toggle at the top right of the course page.
Add the File resource
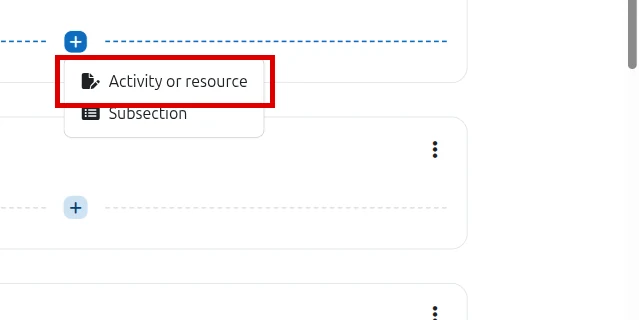
- In the section or topic where you want the material, open the add-content button and click Activity or resource.
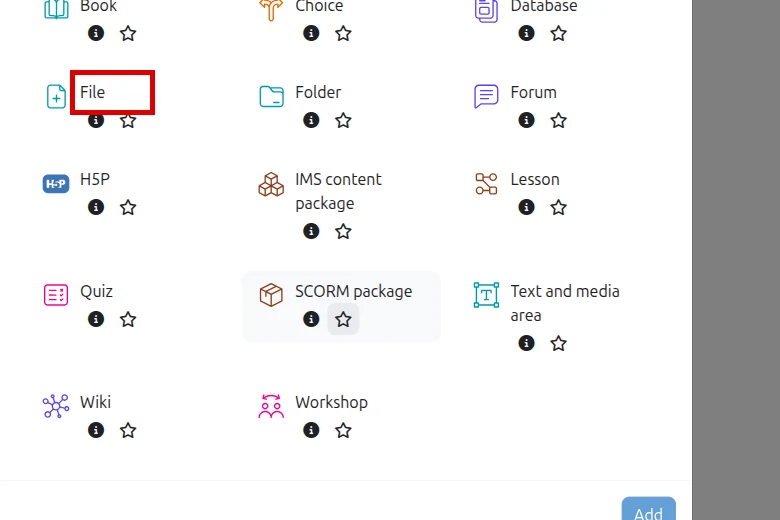
- In the Add an activity or resource window, choose File from the list.
Final verification
- Confirm the file appears in the course section with the name you gave it.
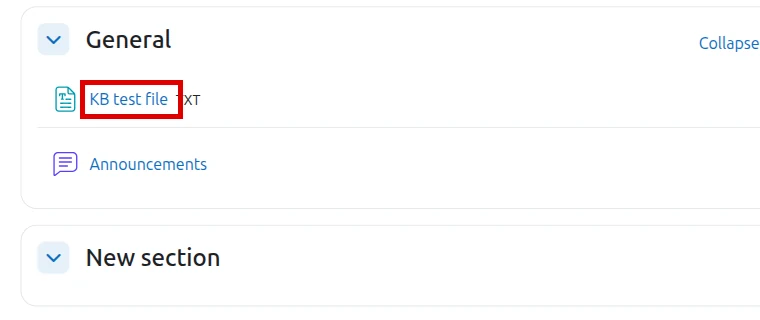
- Turn off edit mode and click the resource to check that it opens or downloads.
- If you can, review it with a student account to confirm your learners can see it.
Common errors
- The file is rejected for size: check the document size and the PHP upload limit on your hosting; see the MultiPHP INI Editor guide below.
- Learners can’t see the file: confirm edit mode is off and that the resource is not set to Hidden.
- The resource won’t open: upload the file again and make sure it finished loading before you save.
- File type not allowed: use a common format such as
.pdfor.docx, or review the site’s restrictions.
Recommended reading
Still need help?
If this guide didn’t solve your issue, our team can help you via ticket.